Saturday, March 30, 2013

Dried Cranberry Cream Scones


Scones are one of my favorite breakfast or tea-time treats to eat. I've wanted to make them for a while so it was a good thing that I found this America's Test Kitchen recipe after looking for one that would help me use up my leftover heavy cream. America's Test Kitchen, along with Alton Brown's Good Eats, is a great show that I like to try out recipes from. Their recipes are tested in their kitchens hundreds of times or even more in order to optimize the best flavors that people look for in a particular recipe. Not having access to their cookbook, I looked at food blogs and found this recipe, adapted from one originally for cream currant scones.

These scones were not as sweet as the typical ones you can buy, which explains the low amount of sugar in the recipe, but I still enjoyed them and they were even better with jam. It tasted cakey due to the addition of the egg and vanilla and almost reminiscent of the taste of a biscuit (after all scones are very similar to biscuits). One thing to be careful about when making scones is not overworking the dough otherwise the scones will be tough and less tender. Though I used a mini food processor to make mine as I thought it would make things easier, I found that I would have preferred making it by hand. It's ultimately up to your personal preference as either method works. 

For ease of access, here's the recipe below with slight additions from the adapted recipe.


Dried Cranberry Cream Scones Recipe
Servings: 16 small scones

Ingredients:

2 cups (9 ounces) All Purpose Flour (preferably a low-protein brand such as Gold Medal or Pillsbury)
1 Tbsp baking powder
4 Tbsp sugar
1/2 tsp salt
4 Tbsp cold unsalted butter, cut into cubes*
1/2 cup dried cranberries
3/4 cup heavy cream
1 egg slightly beaten
1 tsp. of vanilla
2 Tbsp of sugar for sprinkling on top

*You can freeze the butter, grate it, and then refreeze it just until you're ready to use it which works better if you're doing this by hand and don't have a pastry blender.
Directions:
Preheat oven to 400 degrees.  Place the flour, sugar, salt, baking powder, and butter in a food processor (half at a time if using a mini food processor). Pulse everything in 3-second intervals until everything resembles coarse meal, with a few slightly larger butter lumps. If doing this by hand, use 2 knives, a pastry blender or your fingers until the mixture resembles coarse meal. Add dried cranberries and pulse one more time or stir in.

Transfer everything to a large bowl. Stir in heavy cream, egg, and vanilla mixing the dough by hand until it forms into a uniformed and slightly moistened dough.

On a floured surface, grab enough dough to fit into your hand about the size of a baseball and gently roll it in a ball.

Flatten the ball and until your disk is approx. 3/4″ in height. Press down the outside of the dough circle so the center is slightly taller. Evenly sprinkle sugar on top of each circle.

Cut each circle in quarters. You should have enough dough to make 4 circles and 16 scones.

Bake on a ungreased cookie sheet, or line a baking sheet with a baking mat or parchment paper. Bake for 15 minutes until the bottoms are golden brown. Remove scones from baking sheet and cool on a wire rack. You can eat them as is or serve with butter or jam.

Hot out of the oven


Serve with jam...
...or eat plain :)


Saturday, March 16, 2013

Let's Experiment: Flan-Style Panna Cotta


This one is a brainchild from a sleepless night (thank you caffeine) in college. What is it exactly? From the first look, it's flan or creme caramel (cousin of the quintessential French dessert, creme brulee), but it's not. It's the Italian pudding, panna cotta, masquerading as flan. The flan style panna cotta is really quick to make, is done on the stove-top and sets in the fridge, and requires only five ingredients - half and half, sugar, vanilla, gelatin and a pinch of salt.

So first off, how are panna cotta and flan different? Flan is thickened with a mixture of whole eggs and egg yolks, while panna cotta receives its structural integrity from gelatin. Because panna cotta uses gelatin, it doesn't need to be baked, and unlike flan, panna cotta doesn't come with a ready made sauce (caramel is first poured into the ramekins for flan before baking and this later becomes a caramel sauce).

So let's get started!

 Flan-Style Panna Cotta
Milk, sugar, vanilla extract and gelatin
Equipment
- 6 4-oz ramekins
- 1 saute pan
- 1 saucepan
- measuring cups
- measuring spoons
- wooden or silicone spatula
- whisk
Ingredients
- 3 cups half and half
- 1 cup sugar
- 2 teaspoons vanilla extract
- 1 packet (2.5 teaspoons) unflavored gelatin
- pinch of salt

Method
1) Add 3/4 cups sugar to a dry saucepan and set the heat to medium-low.
2) When the edges of the sugar begin to melt and brown, use a spatula to gently mix and redistribute the unmelted sugar. Continue to do this until all of the sugar has dissolved and the resulting caramel has reached the desired color.
3) At this stage, quickly pour the caramel into each ramekin and gently swirl the ramekin to ensure even coverage. Set the ramekins aside to cool.
4) Bloom the gelatin by sprinkling it on top of the 1/2 cup of half and half and stir to combine. Allow it to rest until the gelatin has hydrated.
5) In a deep saucepan, combine the remaining sugar and half and half along with a pinch of salt and heat on medium, making sure to stir often.
6) Once the mixture reaches a boil, add in the bloomed gelatin, whisk and continue boiling until the gelatin has dissolved (~1-2 minutes).
7) Allow the pudding to cool to room temp and then pour into the prepared ramekins. Cover the ramekins with plastic wrap and refrigerate for at least 3 hours, but preferably overnight, to set.
8) To serve, retrieve the pudding from the refrigerator and using a thin bladed knife, insert the blade where the panna cotta meets the ramekin and turn the ramekin while keeping the knife stationary. Place an inverted plate over the ramekin, grab both the ramekin and plate and invert to release.

Thursday, February 28, 2013

Update and cheesecake again

We've been a bit behind on our blog posts lately, but we're going to try to post at the very least every other week if not more frequently. I haven't had much time to bake since my last post so it's funny that I ended up making a cheesecake again.

I haven't made many variations of cheesecake before, but it's not supposed to be much different as long as you have your base for the cheesecake, which is the normal cheesecake filling. I've used Alton Brown's cheesecake recipe enough that I could be confident the cheesecake would come out well even if something different was added to it. At my sister's request, I made a peppermint white chocolate cheesecake. The only difference was adding melted Hershey's Candy Cane Kisses which are essentially white chocolate Kisses with candy cane bits inside. 


I used the same recipe and proportions as our Orange cheesecake, substituting the orange zest with melted Hershey's Candy Cane Kisses. However, instead of mixing it altogether with the rest of the cheesecake filling, you mix the melted chocolate with 1 cup of the filling. That is if you want to make it with a marbling effect. You can just as easily skip this step and combine everything for a more uniform taste. There is more than one way to marble a cheesecake, but I've written the easier method in the recipe. The way I did it was alternating pouring portions of the different mixtures into the crust and then running a butter knife through the mixtures to create the effect. The problem with this method is that if you've never done it before, like I hadn't, it's easy to unevenly distribute both mixtures as well as mess up the artistic look of the marbling when you try to fix it. 

The peppermint white chocolate cheesecake came out well with the same creamy and custardy texture the regular Alton Brown's cheesecake makes but with a not too overwhelming sweetened peppermint taste. The white chocolate flavor seemed to blend together with the cheesecake taste. I didn't get the marbling done the way I intended, but its slight marbling gives it a nice light pink color. In my eagerness to unmold the cake, the sides didn't pull off the pan well and I unfortunately didn't choose to save extra graham cracker crumbs to hide it and cover the sides. In the end, taste is all that matters and this cheesecake was still really good.


To make things easier, here's the recipe again with the modifications.

Ingredients
 
Crust:
18 graham cracker squares, crumbled
4 tablespoons (1/2 stick) unsalted butter, melted
1 tablespoon sugar


Filling:
16 ounces cream cheese (room temperature)
1 cup sour cream
3/4 cup sugar
2 teaspoons vanilla extract (substitute peppermint exact for stronger peppermint taste)
2 large eggs
2 yolks
1/4 cup heavy cream
A pinch of salt
30 Hershey's Candy Cane Kisses, melted

Directions

· Preheat oven to 300 degrees F. 

· In a small bowl, combine crumbled graham crackers, the melted butter, and 1 tablespoon of sugar. Press 2/3 of the mixture into the bottom of the pan. Place remaining crumbs on a sheet pan and bake both the crust and the remaining mixture for 7-8 minutes. Cool. Reserve additional crumb mixture for sides. 

· In a large bowl, cream the cream cheese and sugar until mixture is smooth and lightened. Make sure there are no lumps as they don't disappear after baking. Add the sour cream and mix until smooth. · In a separate bowl, combine vanilla, eggs, yolks, and heavy cream. Pour the liquids into the cream cheese mixture and whisk to incorporate. 
· Melt the Hershey's Candy Cane Kisses in a either a double boiler (placing the ingredient in a bowl, which is placed on top of a pot with hot, boiled water) or carefully microwaving it for a minute, checking it every 15 seconds and stirring occasionally until it is completely melted.
· When the bowl the melted chocolate was in is cooled enough to touch, combine it with a cup of the cream cheese filling
· Pour the rest of the cream cheese filling into the cooled crust
·  To marble the cheese cake, drop spoonfuls of the chocolate mixture randomly over the top of the batter. Using a butter knife or small offset spatula, swirl the chocolate into the cheesecake batter.

· Lower oven temperature to 250 degrees F. Place cheesecake into a preheated water bath, in the oven for 1.5 hours. After 1.5 hours, check the cheesecake to see if it is done. When jiggled, the cheesecake should only slightly wobble in the center. Once done, turn the oven off and open the door for one minute. Close the door for one more hour. Remove the cheesecake from the water bath and let it come to room temperature on a cooling rack before storing it in the refrigerator. Allow the cheesecake to set in the refrigerator for at least 3 hours, but preferably 6 hours to ensure that it will fully set. 
· When ready to serve, run a plastic knife along the sides of the pan and carefully unmold  the cake onto a serving dish or plate. Take the remaining graham cracker mixture and press into the sides of the cake by rotating the unmolded cake over the sink and gently pressing the crumbs into the cake. 
· To slice, place your knife into some hot/warm water and wipe clean each time you make a pass through the cake.  

Extra cheesecake tips:

-If you're using a springform pan for the cheesecake, there's a chance the water from the water bath may seep into to crust. To prevent this from happening, simply put the pan in a larger closed cake pan.

-To help loosen the cheesecake from the sides of the pan, place the cake in a hot water bath for about 15 seconds before unmolding to serve.

-If you happen to accidentally ruin the sides of the cheesecake while unmolding, you can easily cover it up with the graham cracker crumbs you reserved for the sides, or smooth it out with an icing spatula or a butter knife.

Cheesecake right out of the oven


Cute, fat wedge as the first slice

Friday, February 1, 2013

Quest To Canneles Part I - Trials and Tribulations


So what is a cannele exactly? It’s a small, heavenly French cake. Delightfully crispy on the outside, smooth and custardy on the inside, and scented with vanilla and rum, the cannele is a creme brulee in cake form. I had my first at a Paris Baguette in New York and luckily, they were quite fresh and as crisp and custardy as they were meant to be. After the first bite, I was hooked.  Unfortunately, subsequent visits to Paris Baguette yielded ones that were chewy and gummy, unfit for satisfying my cravings. It was at this point that I embarked on my quest to attempt to make them.

So this post is about my first attempt at making the dessert. Prior to baking, I did quite a bit of research (there’s an extensive ~ 11 page discussion on egullet). 

Apparently, copper molds work the best, but they’re about $20 per mold. A pretty standard set of 12 molds will set you back about $240. The silicone molds are substantially cheaper, but general consensus is that results are inferior. Nonetheless, I am using and plan on continue using my silicone mold (a debuyer elastomold and I have a mauviel copper one for comparison).

The molds!
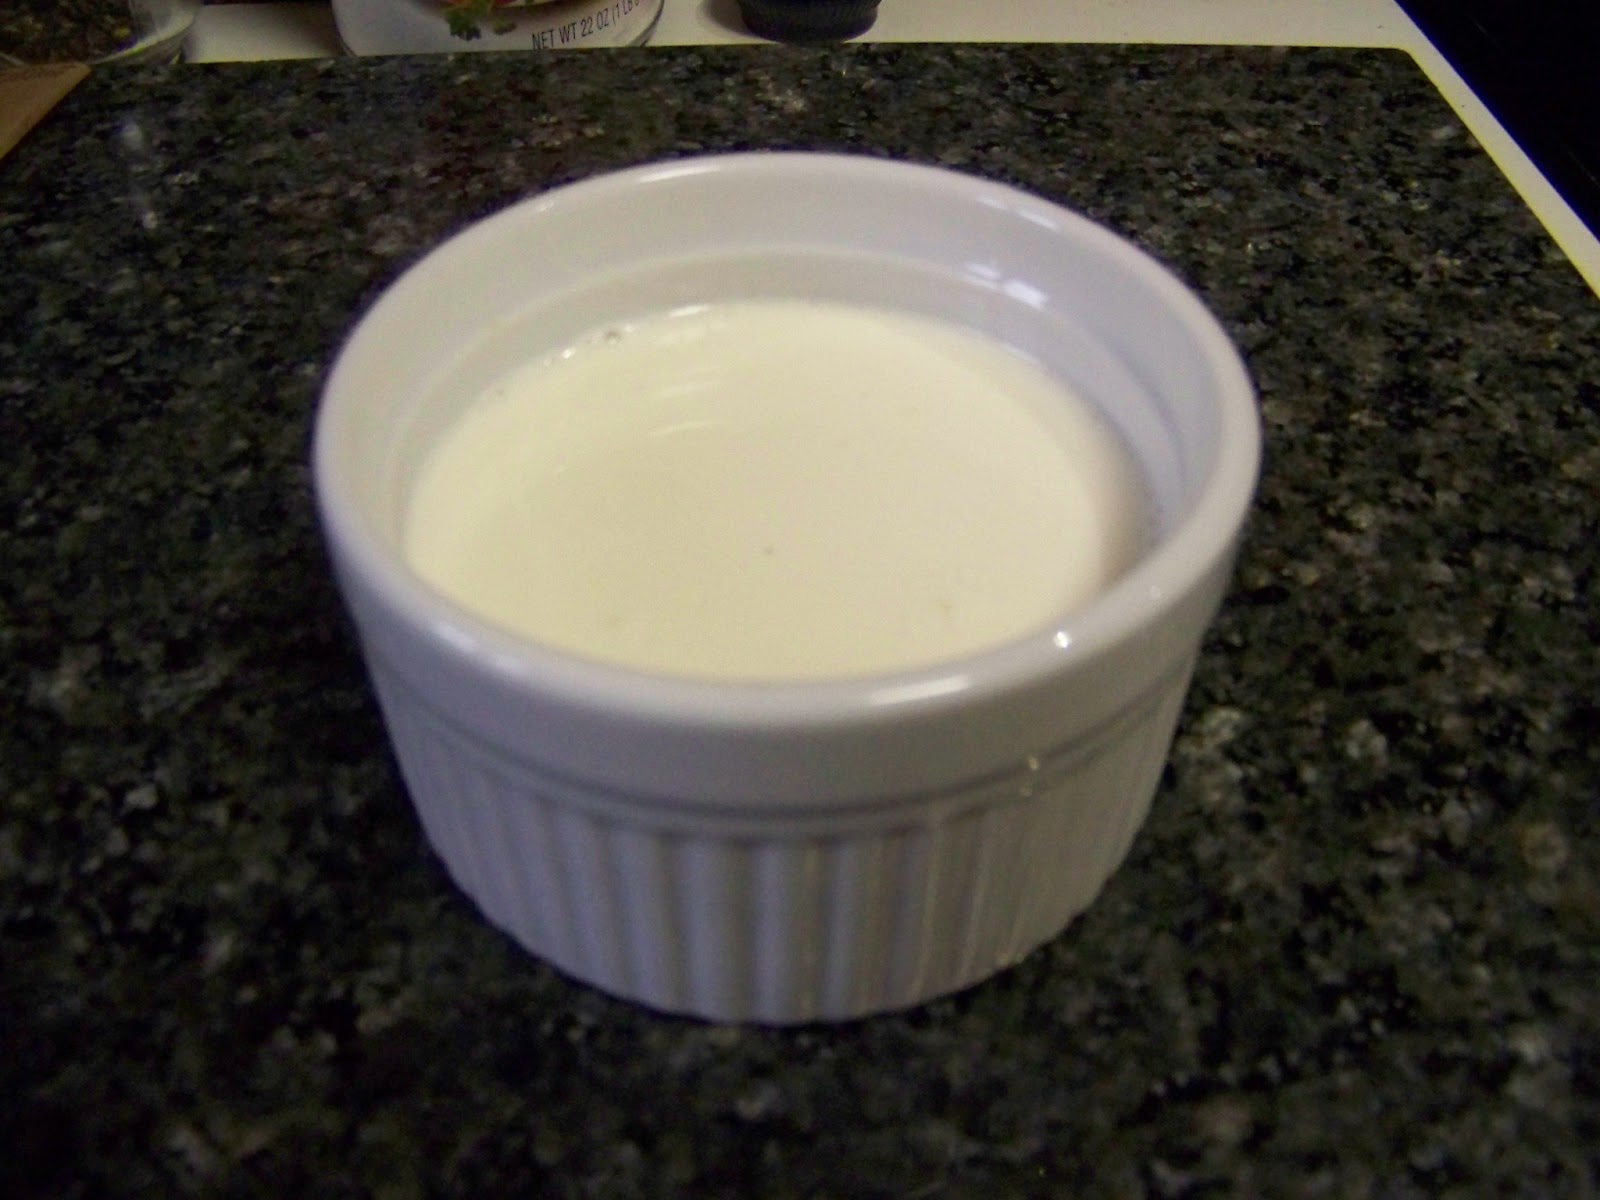
Canneles also require a rather unusual ingredient for a food item - beeswax. Yep, that’s right, beeswax, that stuff that’s used in cosmetics, candles, gun lube, wood polish and cutting board conditioners (the label on the beeswax also lists a whole slew of other uses as well). The beeswax is pretty important when making these; it helps the canneles develop that iconic crust so if you decide to make these, I suggest you get some nice organic beeswax blocks.  Weigh some out and mix it with some butter in a 2:3 beeswax butter ratio before melting it and use the mixture to brush the inside of the molds.  I melted the two in a ramekin (much less clean up) and used a silicone pastry brush for this; if you’re planning on making canneles often, get a dedicated pastry brush for this.  Beeswax is a pain to clean!

Anyways, some notes on my first run of these desserts. The canneles rose about an inch out of the molds while baking, the canneles were a bit dome shaped on the bottom, and the cakes were a touch too unevenly done (very dark on the bottom and a bit too pale on top). I speculate that the doming issue can be solved by leaving the molds out at room temp instead of freezing them. The souffle effect was probably caused by incorporation of air into the batter. Lesson learned - don't whisk the batter too vigorously and gently stir the ingredients together. Lastly, those pale tops. I noticed that this was a significant problem in the silicone molds (the one baked in the copper mold was browned quite evenly), so I’ll try compensating by baking the ones in the silicone pan on a lower shelf, closer to the heat source.
 
For the recipe, mine was a bit eggier than most; I combined Paula Wolfert’s and Pierre Herme’s recipes.  Measurements for the most part are by weight, but for you volumetric folks, I’ll try to get some volume measurements down in the next iteration of the recipe. Making canneles is a time consuming process, so prep the batter a day or two ahead. Without further ado, the recipe:
The canneles. Note the even browning on the one baked in the copper mold (leftmost).

Canneles

Batter
- 15.5 oz whole milk
- 1 tablespoon vanilla extract
- 25g unsalted butter
- 220g white sugar
- 1/8th tsp salt
- 135g AP flour
- 1/8th teaspoons almond extract
- 3 tablespoons dark rum
- 2 large eggs + 2 egg yolks
- 12 cannele molds
Molds
- edible beeswax (from a beekeeper or a honey shop)
- butter
 

Method
1) In a saucepan, combine the butter, milk, sugar, and salt and heat over a medium-low flame. In a separate bowl, measure the flour and set aside.
2) When the mixture in the saucepan begins to steam, add it to the flour and whisk until smooth. Allow the mixture to cool before whisking in the eggs, egg yolks, vanilla extract, almond extract and rum. Then pour the mixture into an airtight container and refrigerate for 24 hours.
3) 2 hours before baking, combine butter and edible beeswax in a 3:2 ratio in a ramekin and melt in either a microwave or hot water bath (my preference as beeswax burns extremely easily).
4) Once the butter and wax have melted, apply a thin layer on the inside of warm cannele molds.  Set aside and allow to cool and solidify.
5) Preheat the oven to 400 F. Stir the batter as some of the flour may have settled to the bottom and then fill the molds ¾ way to the top.
6) Place the molds on a tray and bake for 1.25-1.5 hours. During the first 20 minutes or so, the canneles may start rising. If this occurs, remove canneles from the oven and allow them to fall before putting them back in.
7) After 1 hr 15 min, take one of the cannele molds out and remove the cannele to check the pastry. If the cannele has browned enough (this is really to taste, but they should at least be a nutty brown), remove the rest from the oven, release them from the molds and place on a cooling rack.  Cool for ~ 1 hour before enjoying. 


- James

Wednesday, January 30, 2013

Orange Cheesecake


A delicious cheesecake is not difficult to make as long as you go about it in the right way. Simple steps such as waiting for the cream cheese to become room temperature and using a water bath make quite a large difference in the final product. You wouldn’t want to taste chunks of cream cheese in the cake or for your cheesecake to crack.


I usually make Oreo cheesecakes, but I wanted to make a plain vanilla cheesecake for once. Instead, since James wanted to be more experimental, we ended up making an orange cheesecake using Moro blood oranges. We only used this type of orange because we bought them just before making our cheesecake, but you can use any type of orange. 


We scaled down Alton Brown’s Sour Cream Cheesecake recipe and made it in an 8 in. springform pan. James and I have slightly edited the directions and added our own comments, but the most significant change that affects the recipe is the time in the oven. The time is increased to 1.5 hours which is done because the original recipe's baking time creates a cheesecake that's too soft and custard-like.

 
Ingredients
Crust:
18 graham cracker squares, crumbled
4 tablespoons (1/2 stick) unsalted butter, melted
1 tablespoon sugar


Filling:
16 ounces cream cheese (room temperature)
1 cup sour cream
3/4 cup sugar
2 teaspoons vanilla extract
1 tablespoon of grated orange zest
2 large eggs
2 yolks
1/4 cup heavy cream
A pinch of salt


Directions
· Preheat oven to 300 degrees F. 
· In a small bowl, combine crumbled graham crackers, the melted butter, and 1 tablespoon of sugar. Press 2/3 of the mixture into the bottom of the pan. Place remaining crumbs on a sheet pan and bake both the crust and the remaining mixture for 7-8 minutes. Cool. Reserve additional crumb mixture for sides. 
· In a large bowl, cream the cream cheese and sugar until mixture is smooth and lightened. Make sure there are no lumps as they don't disappear after baking. Add the sour cream and mix until smooth.
· In a separate bowl, combine vanilla, orange zest, eggs, yolks, and heavy cream. Pour the liquids into the cream cheese mixture and whisk to incorporate. Once completely combined, pour into the cooled crust. 
· Lower oven temperature to 250 degrees F. Place cheesecake into a preheated water bath, in the oven for 1.5 hours. After 1.5 hours, check the cheesecake to see if it is done. When jiggled, the cheesecake should only slightly wobble in the center. Once done, turn the oven off and open the door for one minute. Close the door for one more hour. Remove the cheesecake from the water bath and let it come to room temperature on a cooling rack before storing it in the refrigerator. Allow the cheesecake to set in the refrigerator for at least 3 hours, but preferably 6 hours to ensure that it will fully set. 
· When ready to serve, run a plastic knife along the sides of the pan and carefully unmold  the cake onto a serving dish or plate. Take the remaining graham cracker mixture and press into the sides of the cake by rotating the unmolded cake over the sink and gently pressing the crumbs into the cake. 
· To slice, place your knife into some hot/warm water and wipe clean each time you make a pass through the cake.  

Our finished cheesecake was light and creamy and had a subtle orange taste which was more noticeable towards the end of each bite. It tasted remarkably like an orange creamsicle. It's not as dense as a typical New York style cheesecake, but it is still rich, tasty, and definitely a crowd pleaser.


Our finished product!

We had extra graham cracker crumbs so we decided to sprinkle some on top of our first slice

Cheesecake with a slice cut out (Almost looks like Pacman!)

- Judith