
 These scones were not as sweet as the typical ones you can buy, which
explains the low amount of sugar in the recipe, but I still enjoyed them
and they were even better with jam. It tasted cakey due to the addition
of the egg and vanilla and almost reminiscent of the taste of a biscuit
(after all scones are very similar to biscuits). One thing to be
careful about when making scones is not overworking the dough otherwise
the scones will be tough and less tender. Though I used a mini food
processor to make mine as I thought it would make things easier, I found
that I would have preferred making it by hand. It's ultimately up to
your personal preference as either method works.
These scones were not as sweet as the typical ones you can buy, which
explains the low amount of sugar in the recipe, but I still enjoyed them
and they were even better with jam. It tasted cakey due to the addition
of the egg and vanilla and almost reminiscent of the taste of a biscuit
(after all scones are very similar to biscuits). One thing to be
careful about when making scones is not overworking the dough otherwise
the scones will be tough and less tender. Though I used a mini food
processor to make mine as I thought it would make things easier, I found
that I would have preferred making it by hand. It's ultimately up to
your personal preference as either method works. For ease of access, here's the recipe below with slight additions from the adapted recipe.
Dried Cranberry Cream Scones Recipe
Servings: 16 small scones
Ingredients:
 |
1 Tbsp baking powder
4 Tbsp sugar
1/2 tsp salt
4 Tbsp cold unsalted butter, cut into cubes*
4 Tbsp sugar
1/2 tsp salt
4 Tbsp cold unsalted butter, cut into cubes*
1/2 cup dried cranberries
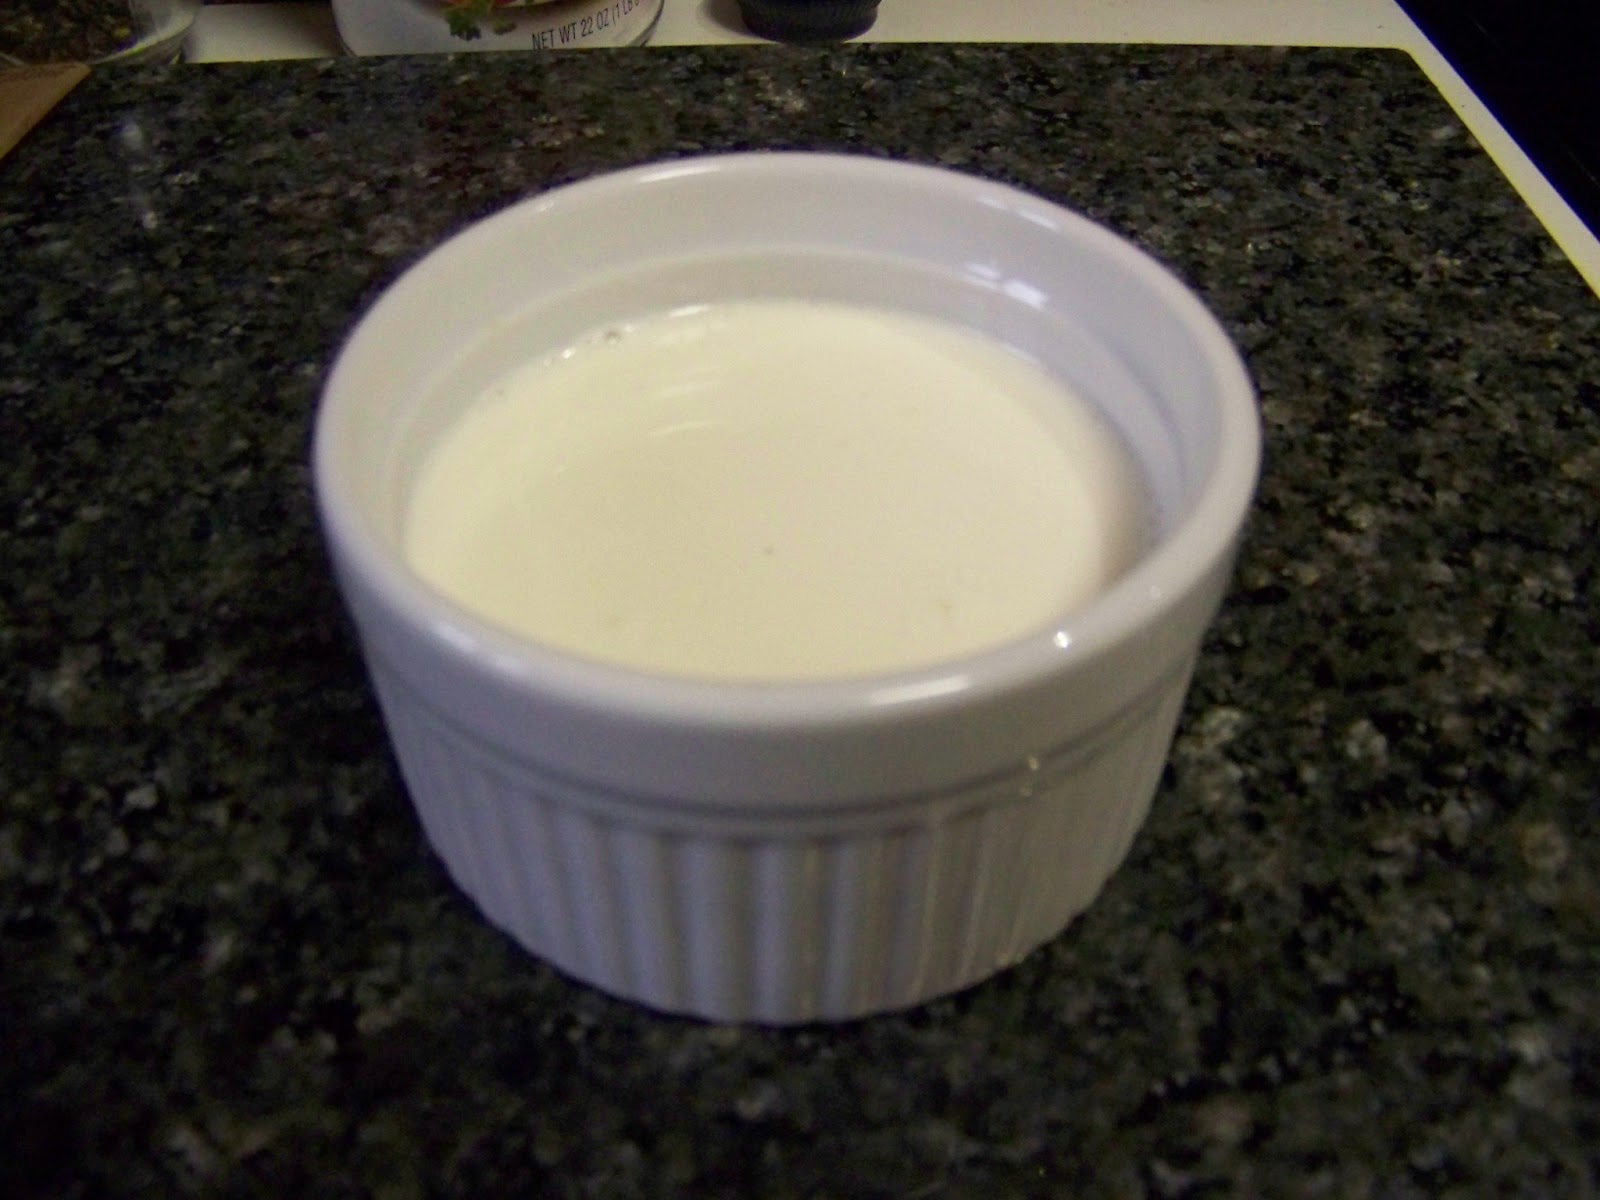
3/4 cup heavy cream
1 egg slightly beaten
1 tsp. of vanilla
2 Tbsp of sugar for sprinkling on top
3/4 cup heavy cream
1 egg slightly beaten
1 tsp. of vanilla
2 Tbsp of sugar for sprinkling on top
*You can freeze the butter, grate it, and then refreeze it just until you're ready to use it which works better if you're doing this by hand and don't have a pastry blender.
Directions:
Preheat oven to 400 degrees. Place the flour, sugar, salt, baking powder,
and butter in a food processor (half at a time if using a mini food processor).
Pulse everything in 3-second intervals until everything resembles coarse meal, with
a few slightly larger butter lumps. If doing this by hand, use 2 knives, a
pastry blender or your fingers until the mixture resembles coarse meal. Add
dried cranberries and pulse one more time or stir in.Transfer everything to a large bowl. Stir in heavy cream, egg, and vanilla mixing the dough by hand until it forms into a uniformed and slightly moistened dough.
On a floured surface, grab enough dough to fit into your hand about the size of a baseball and gently roll it in a ball.
Flatten the ball and until your disk is approx. 3/4″ in height. Press down the outside of the dough circle so the center is slightly taller. Evenly sprinkle sugar on top of each circle.
Cut each circle in quarters. You should have enough dough to make 4 circles and 16 scones.
Bake on a ungreased cookie sheet, or line a baking sheet with a baking mat or parchment paper. Bake for 15 minutes until the bottoms are golden brown. Remove scones from baking sheet and cool on a wire rack. You can eat them as is or serve with butter or jam.
 | |||
| Hot out of the oven |
 |
| Serve with jam... |
 | ||||||
| ...or eat plain :) |


