Saturday, April 19, 2014

Tres Leches Cake


I was surprised about how many people didn't know what tres leches cake was when I shared some or mentioned I made it recently. It's a Mexican dessert, but it seems like more people are familiar with what flan is in comparison.  I'll admit that although I knew what it was, I had never tasted tres leches cake until a week before I first made it.


James and I tried tres leches cake from a Mexican restaurant that newly opened near we live. The cake was very sweet and moist and still had milk oozing out from it. We enjoyed it so much that we were inspired to make our own soon after and good old Alton Brown has a recipe for it.


Tres leches cake is basically cake soaked in what its name means in Spanish, three milks. Most recipes use a butter cake and you can even make it with yellow cake mix from a box if you're feeling lazy, but of course I'd recommend making the entire thing from scratch.

Below is Alton Brown's Good Eats recipe.

Tres Leches Cake

Ingredients

Cake:

Vegetable oil (For oiling the pan)
6 3/4 ounce flour (Cake flour is recommended, but we substituted this with all purpose flour and cornstarch. Per cup of flour, replace 2 tablespoons with cornstarch. Because the recipe is in ounces, you'll have to approximate)
1 teaspoon baking powder
1/2 teaspoon salt
4 ounces unsalted butter, room temperature
8 ounces white sugar
5 whole eggs
1 1/2 teaspoons vanilla extract

Glaze:

1 12-ounce can evaporated milk
1 14-ounce can sweetened condensed milk
1 cup half and half

Topping:

2 cups heavy cream
8 ounces sugar
1 teaspoon vanilla extract

Directions

Preheat the oven to 350 degrees F. Lightly oil and flour a 13 by 9-inch metal pan and set aside.


Whisk together the cake flour, baking powder and salt in a medium mixing bowl and set aside.


Place the butter into the bowl of a stand mixer. Using the paddle attachment, beat on medium speed until fluffy, approximately 1 minute. Decrease the speed to low and with the mixer still running, gradually add the sugar over 1 minute. Stop to scrape down the sides of the bowl, if necessary.

Add the eggs, 1 at a time, and mix to thoroughly combine.


Add the vanilla extract and mix to combine.


Add the flour mixture to the batter in 3 batches and mix just until combined.

Transfer the batter to the prepared pan and spread evenly. This will appear to be a very small amount of batter.

Bake on the middle rack of the oven for 20 to 25 minutes or until the cake is lightly golden and reaches an internal temperature of 200 degrees F.

Remove the cake pan to a cooling rack and allow to cool for 30 minutes. Poke the top of the cake all over with a skewer or fork.

Allow the cake to cool completely and then prepare the glaze.
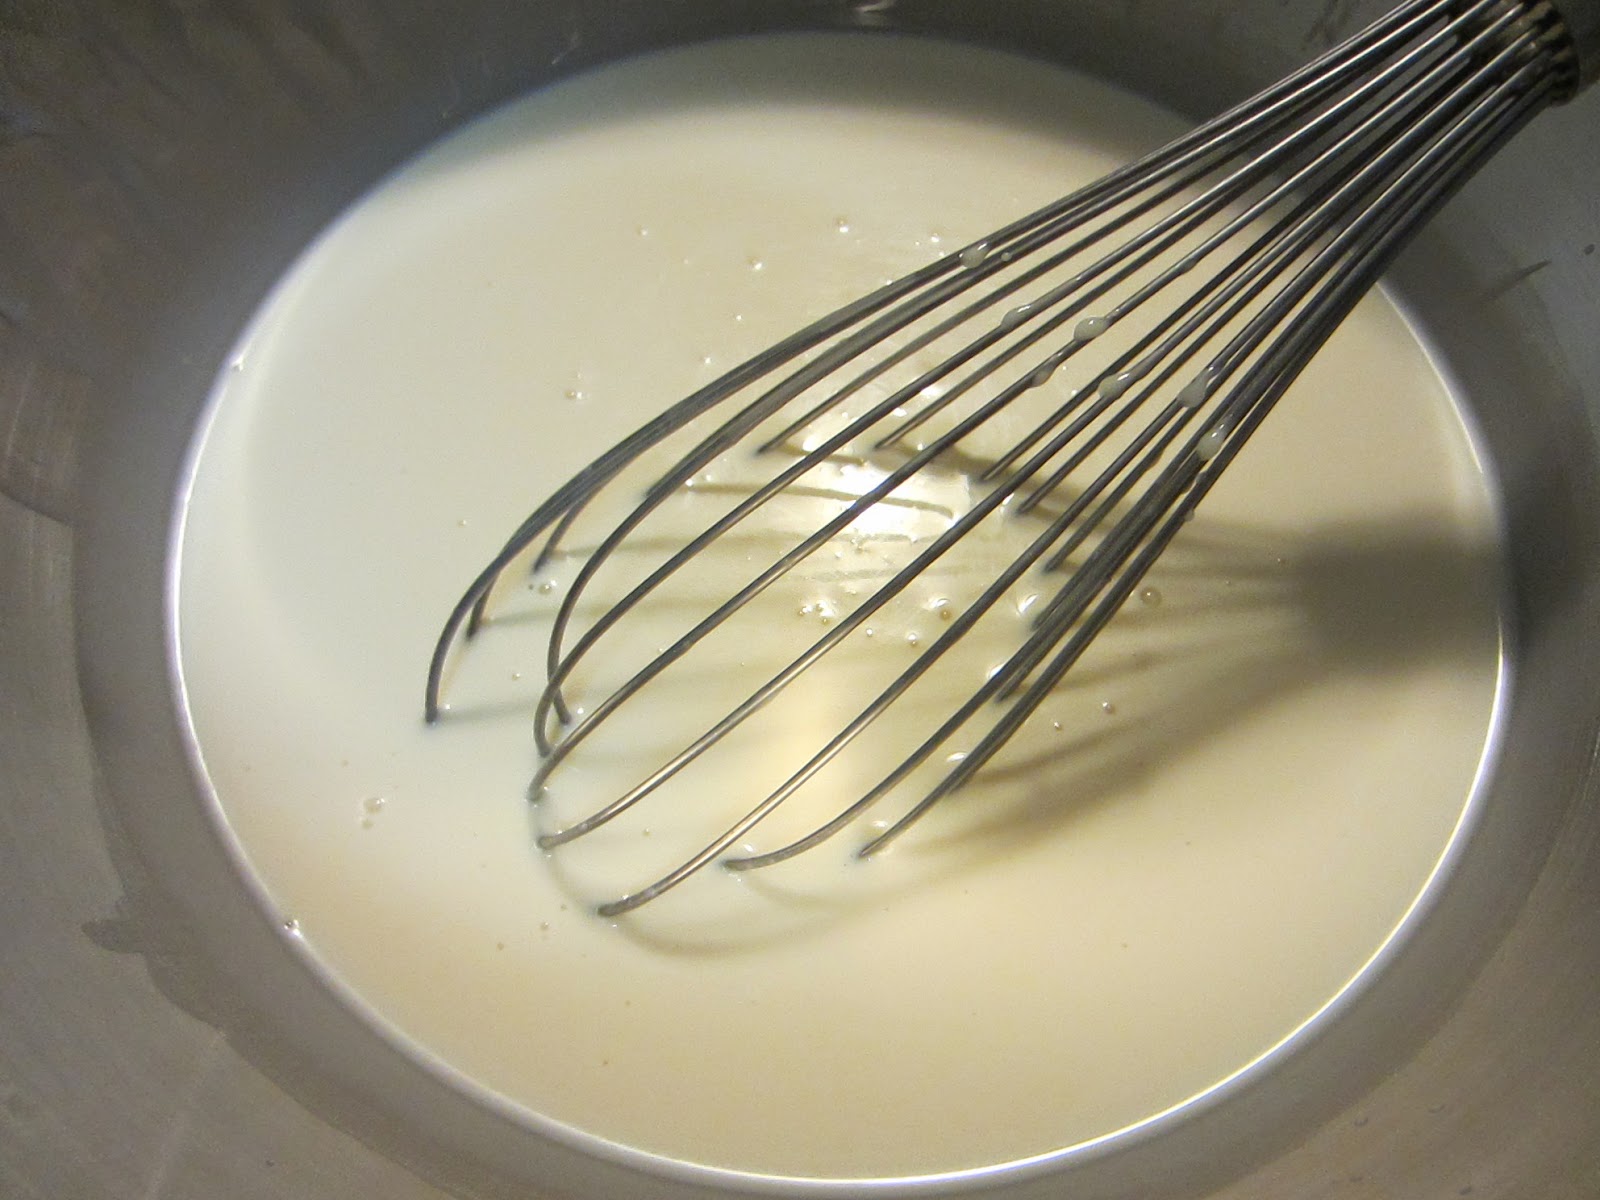
Whisk together the evaporated milk, sweetened condensed milk and the half-and-half.


Once combined, pour the glaze over the cake. Refrigerate the cake overnight.

Before: Glaze poured on cake                                                          After: Cake soaked in glaze


Topping:

Place the heavy cream, sugar and vanilla into the bowl of a stand mixer. Using the whisk attachment, whisk together on low until stiff peaks are formed. Change to medium speed and whisk until thick. Spread the topping over the cake and allow to chill in the refrigerator until ready to serve.


Notes:

The topping isn't necessary especially if you decide to serve the tres leches cake with fruit, but it does hide all the holes that you perforated into your cake. The cake itself is already very sweet so adding the topping would definitely make it sweeter.

It's a good idea to tap the pan to get rid of any air bubbles before you bake the cake.

Once you pour the glaze on top of the cake, you'll notice that the cake slowly absorbs all of the moisture, so it's important to thoroughly poke holes all around the cake. Refrigeration also helps the glaze soak into the cake more.

Wednesday, January 15, 2014

Chocolate cake - Layer cake and cupcakes

Rich, moist, intense chocolate flavor—who doesn't want that in a chocolate cake? This has been my favorite chocolate cake recipe because it makes the type of cake that everyone enjoys. I originally found this on Allrecipes (One Bowl Chocolate Cake III), but I've also found the exact recipe on the Joyofbaking, Hershey's, and Scharffen Berger websites, so I don't know the true origin of the recipe. Since so many sources use the same recipe, you know that this is a great cake.

This recipe works well as either a layer cake or cupcakes. I've used this recipe for both recently, halving it when I made mini cupcakes. The half batch made enough for 24 mini cupcakes and 2 regular-sized cupcakes. As a layer cake, this makes enough for two layers or three thinner layers and you can use either 8 inch or 9 inch round cake pans. The only change from the original recipe is the addition of instant coffee powder, which helps enhance the chocolate flavor of the cake. This ingredient isn't necessary, so if you don't have it then it's fine to omit it. Another good suggestion is to sift all the dry ingredients to avoid lumps.

Two layer cake with chocolate buttercream frosting
decorated with shaved chocolate
Chocolate Cake

Ingredients

2 cups white sugar
1 3/4 cups all purpose flour
3/4 cup unsweetened cocoa powder
1 1/2 teaspoons baking powder
1 1/2 teaspoons baking soda
1 teaspoon salt
2 eggs
1 cup milk
1/2 cup vegetable oil
2 teaspoons vanilla extract
1 teaspoon instant coffee powder
1 cup boiling water

Directions

1. Preheat oven to 350°F. Butter or grease two round cake pans or prepare cupcake liners in muffin pans if making cupcakes.
2. In a large bowl, mix together the sugar, flour, cocoa powder, baking powder, baking soda, and salt.


3. Add the eggs, milk, vegetable oil, and vanilla extract into the bowl and mix until incorporated.


4. To the cup of boiling water, mix in the instant coffee powder, and then stir the liquid into to the bowl.
The batter will be thin.


5. Pour batter into cake pans or cupcake liners. Tap the pans a few times to remove air bubbles. Bake for 30 to 35 minutes in the preheated oven until the cake tests done with a toothpick. Cool in the pans for 10 minutes, then remove to a wire rack to cool completely.

Feel free to use any frosting for your cake. I used a chocolate buttercream recipe which I'm still working on, so I decided not to post the recipe yet. A whipped cream frosting works well with this chocolate cake too.
 
Mini cupcakes


Saturday, November 16, 2013

Pumpkin Apple Muffins


It's been pumpkin season for a while, but I'm only getting the chance now to post about a good pumpkin recipe I've tried towards the beginning of this month. I've found delicious looking pumpkin cupcake recipes that I want to try, but for this occasion I wanted to make something healthier that James and I could eat as an on-the-go breakfast--Pumpkin Apple Muffins. Apples were a great addition to these muffins that added a nice texture.

I slightly modified a Pumpkin Apple Muffin recipe I found through a Google search. Normally I have my go-to websites for recipes, but Cookies and Cups' muffins looked so good that I couldn't resist testing it out. As I mentioned before, I wanted a healthier muffin, so I had to forgo the cream cheese and streusel toppings. I think I prefer these indulgent toppings on cupcakes anyway.

The other differences in my recipe are the portioning, the sugar content, and the pumpkin pie spice mixture. I decided to halve the recipe and spread the batter out in 12 muffin cups. For the sugar, I thought the amount was more than I wanted for this muffin so I cut it down by 1/4 cup. I also replaced 1/4 cup of white sugar with dark brown sugar because brown sugar helps seal in moisture and draws moisture from the air over time to keep the muffin moist. This is helpful since you can so easily over mix muffin batter that doesn't use butter (non-cakey muffins). Lastly, I broke down the pumpkin pie spice mixture in a note below the recipe. I know that not everyone buys pumpkin pie spice, including myself, so I know how frustrating it is to see so many pumpkin recipes use it and always have to convert it.

Pumpkin Apple Muffins

Ingredients

1 1/4 cup flour
1/2 cup granulated white sugar
1/4 cup dark brown sugar
1/2 Tbsp pumpkin pie spice*
1/2 tsp baking soda
1/2 tsp salt
1 egg
1/2 cup pumpkin puree
1/4 cup vegetable oil
1 cup apple, peeled and chopped (1 small apple should work)

*You can break this down using a 8:4:2:1 ratio of ground cinnamon, ginger, nutmeg, and cloves. Most recipes often use a 4:2:2:1 ratio but in the end it's based on personal preference. For example, using the 4:2:2:1 ratio, a blend of 1/2 tsp cinnamon, 1/4 tsp ground ginger, 1/8 tsp nutmeg, and 1/8 tsp cloves makes 1 tsp of pumpkin pie spice. You can double this to make 2 tsp and take 1 1/2 tsp for this recipe. When I made this, I didn't have ground ginger, so I replaced it with an equal amount of cinnamon.

Directions

1. Preheat oven to 350°F.
2. Line your muffin pans with liners, or spray pans with cooking spray
3. Prepare muffin batter by whisking together flour, sugars, pumpkin pie spice, baking soda and salt.


4. In another bowl mix together eggs, pumpkin and oil.


 5. Pour these wet ingredients in the dry ingredients bowl.


6. Mix until incorporated.


 7. Stir in chopped apples.


8. Fill muffin cups ~2/3 full and bake for about 20-25 minutes or until a toothpick comes out cleanly.
9. Take the muffins out of the pans and cool on a wire rack.


These muffins tasted like cakey muffins and kept moist for several days. They were also still sweet even though I cut down on sugar. I think I need to play around with the sugar levels of this recipe, but overall they were good and I'd definitely make them again.


Wednesday, October 30, 2013

Lemon squares


Lemon squares or lemon bars are a perfect combination of buttery shortbread crust and a sweet yet tart lemon custard. These are one of my favorite baked goods to make because they're simple, easily impress, and, of course, delicious.

I've been using a recipe I found on Allrecipes since I first started making these and it's a great recipe, but I wanted to switch it up and decided to use Chef John's Lemon Bars recipe. I'm usually excited to try Chef John's recipes ever since James got me watching foodwishes (Chef John's blog name) videos on YouTube. I've already tried a few of his recipes with yummy results, so I was confident this recipe wouldn't fail me. The recipes aren't drastically different, as they use similar ingredients, but in the end I think I like Chef John's recipe more. It turns the crust into something more like a shortbread cookie, uses a bit less sugar (which I do anyway when I modify recipes), and creates a more custardy lemon filling with the use of the egg yolk instead of an additional whole egg. You can still use a whole egg instead of the yolk if you really don't want to go through the trouble of separating the egg. It doesn't change the recipe that much, but I'd recommend following the recipe if you can.

Below is the recipe from Chef John's website and the directions I got from his Allrecipes submission.

Ingredients for 16 Small Lemon Bars:

For the shortbread crust:
1 cup all-purpose flour
1/2 cup room temp unsalted butter (1 stick)
1/4 cup powdered sugar
1/4 tsp vanilla
1/4 tsp salt

For the lemon layer:
2 large whole eggs
1 large egg yolk
1 cup white sugar
2 tablespoons all-purpose flour
1/4 cup fresh lemon juice
1 tbsp grated lemon peel

Directions

1. Place an oven rack into middle position in oven and preheat oven to 350 degrees F (175 degrees C). Lightly oil an 8x8-inch baking dish.
2. Place 1 cup flour and butter in a mixing bowl and mash with the back of a spatula or wooden spoon until thoroughly combined. Mix in 1/4 cup confectioners' sugar, vanilla extract, and salt; mash mixture together until mixture looks like a slightly crumbly cookie dough.
3. Moisten your fingers with a little water and press dough into bottom of prepared baking dish. Use a fork to prick holes all over the crust.
4. Bake crust on center rack in the preheated oven until crust edges are barely golden brown, 22 minutes.
5. Beat eggs and egg yolks together in a bowl; whisk in white sugar and 2 tablespoons flour until smooth. Add lemon juice and lemon zest; whisk for 2 minutes. Pour lemon custard over crust.
6. Bake on center rack until custard is set and top has a thin white sugary crust, 25 minutes. Let cool completely before cutting into bars. Dip knife into very hot water, run around the edge, and cut into 16 squares. Dust cookies with 1 teaspoon confectioners' sugar.

Sunday, June 16, 2013

Blueberry Scones


I didn't realize until James told me that I keep posting about variations of baked goods. So far it's been two kinds of one thing--first cheesecake and now scones (our joint post on pate choux doesn't count since we both wrote it, but it's another good example of two kinds of one baked good). This wasn't actually intentional but just a funny coincidence.

I found this recipe for blueberry scones when I was looking for scone recipes the first time. America's Test Kitchen recipes always seem great and I was excited about how these scones used fresh blueberries. I definitely wanted to try this recipe whenever I got the chance. I ended up getting organic blueberries on sale and immediately thought of using some for these scones.

It was a messy process making these scones with so much flour and dough around my hands that I couldn't take many pictures. I know I'll be making these scones again so when that time comes, I'll get James to help me take pictures each step and update this post. I ended up halving this recipe because I didn't have a big enough surface and used my cutting board to roll out the dough. This also helped me feel better that I wasn't using so much butter for 8 scones. Halving the recipe still made 8 scones but they were smaller and better for portion control.


Below is America's Test Kitchen's recipe for Blueberry Scones with the note from their website about the recipe at the beginning. I've made additional notes for anyone who also decides to halve this recipe (halved ingredients are italicized and in blue) as well as additional personal tips that I normally add in the recipes I post.


Notes from ATK's website: "It is important to work the dough as little as possible—work quickly and knead and fold the dough only the number of times called for. The butter should be frozen solid before grating. In hot or humid environments, chill the flour mixture and workbowls before use. While the recipe calls for 2 whole sticks of butter, only 10 tablespoons are actually used (see step 1). If fresh berries are unavailable, an equal amount of frozen berries (do not defrost) can be substituted. An equal amount of raspberries, blackberries, or strawberries can be used in place of the blueberries. Cut larger berries into 1/4- to 1/2-inch pieces before incorporating. Refrigerate or freeze leftover scones, wrapped in foil, in an airtight container. To serve, remove foil and place scones on a baking sheet in a 375-degree oven. Heat until warmed through and recrisped, 8 to 10 minutes if refrigerated, 16 to 20 minutes if frozen. See final step for information on making the scone dough in advance."

Ingredients

  • 16 tablespoons unsalted butter, frozen whole ( see note above) | 8 tbsp unsalted butter, frozen and grated, 1 tbsp melted for brushing scones. Only 5 tbsp are actually used (see note above)
  • 1 1/2 cups blueberries, fresh, about 7 1/2 ounces, picked over (see note) | 3/4 cup blueberries
  • 1/2 cup whole milk | 1/4 cup milk
  • 1/2 cup sour cream | 1/4 cup sour cream
  • 2 cups unbleached all-purpose flour, plus additional all-purpose flour, for work surface (10 ounces) | 1 cup all purpose flour, plus additional flour
  • 1/2 cup sugar, plus 1 tablespoon sugar, for sprinkling (3 1/2 ounces) | 1/4 cup sugar, plus extra for sprinkling
  • 2 teaspoons baking powder | 1 tsp baking powder
  • 1/4 teaspoon baking soda | 1/8 tsp baking soda
  • 1/2 teaspoon table salt | 1/4 tsp salt
  • 1 teaspoon lemon zest, grated | 1/2 tsp lemon zest (I omitted this because I didn't have a lemon and knew it wasn't absolutely necessary, but adding it helps enhance the flavor)

Directions

  1. Adjust oven rack to middle position and heat oven to 425 degrees. Score and remove half of wrapper from each stick of frozen butter. Grate butter and place grated butter in freezer until needed. Melt 2 (or 1) tablespoons of remaining ungrated butter and set aside. Save remaining 6 tablespoons butter for another use. Place blueberries in freezer until needed. To take a page from Alton Brown, a good way to freeze blueberries is to first freeze them laid flat on a baking sheet and then transfer them in either a container or plastic bag. Make sure to dry the blueberries well after washing them before freezing.
  2. Whisk together milk and sour cream in medium bowl; refrigerate until needed. Whisk flour, 1/2 (or 1/4) cup sugar, baking powder, baking soda, salt, and lemon zest in medium bowl. Add frozen butter to flour mixture and toss with fingers until thoroughly coated.
  3. Add milk mixture to flour mixture; fold with spatula until just combined. With rubber spatula, transfer dough to liberally floured work surface. Dust surface of dough with flour; with floured hands, knead dough 6 to 8 times, until it just holds together in ragged ball, adding flour as needed to prevent sticking. It's fine to knead the dough more times if it hasn't fully formed. Stop once the dough comes together.
  4. Roll dough into approximate 12-inch square. Halving the recipe creates a smaller square of dough. I couldn't measure it but I would say it's roughly an 8-inch square. Fold dough into thirds like a business letter, using bench scraper or metal spatula to release dough if it sticks to countertop. Make sure to flour whichever tool you use to prevent dough from sticking to the scraper/spatula. Lift short ends of dough and fold into thirds again to form approximate 4-inch square. Again sizing is likely different for a smaller square. Transfer dough to plate lightly dusted with flour and chill in freezer 5 minutes.
  5. Transfer dough to floured work surface and roll into approximate 12-inch (or 8-inch) square again. Sprinkle blueberries evenly over surface of dough, then press down so they are slightly embedded in dough. Using bench scraper or thin metal spatula, loosen dough from work surface. Roll dough, pressing to form tight log. Lay seam-side down and press log into 12 by 4-inch rectangle. Halved recipe produces a smaller rectangle which turn into mini scones. Using sharp, floured knife, cut rectangle crosswise into 4 equal rectangles. Cut each rectangle diagonally to form 2 triangles and transfer to parchment-lined baking sheet.
  6. Brush tops with melted butter and sprinkle with remaining tablespoon sugar. Bake until tops and bottoms are golden brown, 18 to 25 minutes. Transfer to wire rack and let cool 10 minutes before serving.
  7. To Make Ahead: After placing the scones on the baking sheet, either refrigerate them overnight or freeze. When ready to bake, for refrigerated scones, heat oven to 425 degrees and follow directions in step 6. For frozen scones, heat oven to 375 degrees, follow directions in step 6, and extend cooking time to 25 to 30 minutes.
Messily bitten scone
The scones turned out amazingly flaky, reminiscent of puff pastry with the method used, and fluffy on in the inside. It was more enjoyable eaten hot even before they're fully cooled.

Friday, May 31, 2013

Savory & Sweet - Pate Choux


Earl Gray Creampuffs (left) and Cheddar Gouda Gougeres (right)

Behold, pate choux, a twice cooked pastry shell invented by the French. Buttery and light, it’s most commonly known as the shell of sweet pastries including the cream puff, profiterole and éclair. But, like the crepe, it has roles outside of the dessert and breakfast world. We decided to create a joint post and make two different pate choux pastries – the iconic creampuff and cheesy gougere.

So first, let’s talk about the science behind the pate choux. In its very basic form, it’s made of flour, milk or water, eggs and butter. The butter and water phase are combined and brought to a simmer before the flour is unceremoniously dumped into it and the resulting dough is stirred until smooth. This coats the flour granules with fat, inhibiting gluten formation, and hydrates the starch. The eggs are added, providing both valuable structure and richness. When baked, the outside of the pastry sets before the inside, leaving little to no escape for the incorporated air and steam. The steam and air coalesce within the pastry and form a large air pocket in the center.

Baking these pastries requires two baking temperatures. First, 400 F for 15 min in order to set the crust, and then another 15-25 minutes at 350 F to brown, finish cooking the egg proteins and remove excess moisture.

Having made cream puffs together before, we wanted to be more experimental. I made cream puffs with earl grey pastry cream while James used the base of a pate choux recipe to create his own version of gourgeres. We created mini sandwiches with steak, sauteed spinach, fresh tomato and caramelized onion.


The earl grey cream puffs were good, but it needed a stronger tea flavor. It was difficult to describe what flavor it was if you didn't already know. An easy way to solve this, which is also added to the recipe instructions, is to add extra tea bags to steep. Of course, using an extract produces a strong flavor, but it would probably be difficult to find some to buy. As an alternative to steeping multiple tea bags, you can make earl grey tea or any other tea extracts by making it in the same way you would make vanilla extract. Instead of placing vanilla beans in vodka, you can steep tea bags in vodka. I haven't tried it myself yet, but we will definitely test this out with some future recipes.


Pate Choux (Cream puff/éclair shell)
1/2 cup all purpose flour
1/2 teaspoon granulated white sugar
1/4 teaspoon salt
4 tablespoons (1/2 stick) unsalted butter
1/2 cup milk
2 large eggs, beaten
Procedure
1) In a saucepan, combine the sugar, salt, butter and milk and heat at medium-high until boiling.
2) Once the butter and milk mixture begins to boil, add all of the flour at once, reduce the heat to low, and stir vigorously until dough is formed. Cook the dough in the pan for ~ 2min until it begins to pull away from the pot when stirred. Preheat the oven to 400 F
3) Transfer the dough to a large mixing bowl, stir for 2-3 minutes (this develops gluten and releases steam), and then allow it to come to room temperature.
4) Once the dough has cooled, slowly add the egg while stirring (add in about ¼ egg to ½ egg intervals; this will make your life a lot easier). The dough will separate when the egg is being poured in, but will come back together. The degree of separation depends on the amount of egg added in.
5) Transfer the mixture into a piping bag or ziplock bag with the corner cut out and then pipe the dough onto a parchment or silicone mat lined baking sheet in 1.5-2” dollops (this is an approximate diameter measurement).
6) Bake for 15 minutes before turning the oven temperature down to 350 F. Continue baking the shells until they’re golden brown.
7) Remove the shells from the oven and with a paring knife, poke venting holes in each of the creampuffs. Turn the oven off and place the shells back into the oven with the door slightly ajar until they cool.
8) Either use a pastry bag to fill or cut each shell in half and spoon/pipe in the filling.
*For the gougeres,  add 3 ounces of grated cheese (we used a mixture of cheddar and gouda) in step 3, after the dough has cooled slightly. Grate another 1/2 ounce of cheese and sprinkle some on top of the shells after they're piped (step 5).


Pastry Cream
2 cups milk (or half & half)
1/4 cup white sugar
3 egg yolks
3 tablespoons cornstarch
1 tablespoon AP flour
1/3 cup white sugar
2 tablespoons butter
1 teaspoon vanilla extract (for the earl grey tea flavor, we omitted the vanilla and steeped two packets of tea in the milk/cream)
A pinch of salt
Procedure:
1) In a heavy sauce pan, bring milk to a near boil on medium-low heat (you should see some bubbling, swelling, and steam). If you're making a tea flavored pastry cream, heat the milk until it starts to steam and froth, then take the milk off the heat, place the teabags into the pot and allow to steep for 10-15 minutes. For a stronger tea flavor, steep additional bags of tea. The number of extra tea bags depends on the strength of the tea and personal preference. In another bowl, mix together the eggs, cornstarch, sugar and salt until incorporated.
2) Pour the hot milk into the egg mixture and stir. Pour the mixture through a mesh strainer back into the saucepan. Constantly stir until it thickens.
3) Once thick, remove the pan from the heat or pour the pastry cream into another vessel. Add the vanilla extract and butter and stir until incorporated. Place plastic wrap directly on top of the pastry cream and refrigerate until ready for use.

Thursday, May 2, 2013

Cinnamon rolls!

Few things in life are better than the smell of baking Vietnamese cinnamon rolled inside pillows of rich dough. Well, eating cinnamon rolls would be better than just smelling I guess. Slathered with copious amounts of smooth icing, cinnamon buns are one of my favorite breakfast treats.

I've had a lot of problems with making them over the past two years. I've overbaked them, underbaked them, allowed the yeast to bloom too much and not enough. The results from my first ten batches have been extremely experimental in nature and frankly, less than stellar.

After so many failed trials, I've learned how not to make cinnamon buns. So here are a few tips before we get started.
1. Weigh your ingredients. The volume of flour can vary quite a bit so weighing is the most accurate method of measurement.
2. Proof your yeast. Give the little buggers a head start and make sure your yeast is still viable. I usually add the yeast, ~ 2 oz room temperature water, and teaspoon or so of regular granulated sugar. Once it starts to foam, you're ready.
3.  Use a thermometer to check the buns during baking. Yeast leavened doughs, at least for me, have been a bit finicky with their cooking times and measuring the internal temperature has been the most reliable way for checking doneness.
4. Don't skimp out on the salt. Salt encourages gluten formation and stability and we need that to offset the relative acidity (which does the opposite) of the yogurt.
5. An overnight stay in the fridge will yield superior flavor and texture. This has to do with gluten and yeast. Yeast produce milder and more pleasant flavor compounds at colder temperatures, and relatively harsh flavors at room temperature. The extra time also allows for some gluten development and small yeast produced gas bubbles to infiltrate the entirety of the dough.

Cinnamon Rolls
Dough
- 4 large egg yolks, room temperature
- 1 large whole egg, room temperature
- 2 ounces (approximately 1/4 cup) + 1 teaspoon granulated sugar
- 3 ounces unsalted butter, melted, approximately 6 tablespoons
- 5 ounces vanilla yogurt, room temperature
- 3 ounces water, room temperature
- 18-20 ounces all-purpose flour, approximately 4 cups, plus additional for dusting
- 1 package instant dry yeast, approximately 2 1/4 teaspoons
- 1 1/4 teaspoons kosher salt
Filling
- 4 ounces light brown sugar
- 1 ounce unsalted butter, melted, approximately 2 tablespoons
- 1 tablespoon ground cinnamon
- pinch of salt

Method
1) Combine the water, yeast, and teaspoon of granulated sugar, and allow to sit until foamy at the surface, ~ 30 minutes.
2) Add the yogurt, melted butter, egg yolks and whole egg to the yeast and mix thoroughly.
3) In a separate bowl, whisk together the flour (keeping 2 ounces in reserve) and salt to aerate and then add the wet ingredients. Mix until the dough comes together and then place on a floured surface and knead until the surface is tacky, not sticky. Add more flour if needed.
4) Cover the dough and allow to rise until it doubles in volume, ~ 2 hours.
5) Punch the dough down and roll it out to a 12" x 18" rectangle and brush with 1 ounce melted butter, leaving a 1" border at the top.
6) In a bowl, combine the light brown sugar, pinch of salt and ground cinnamon and apply to the butter dough, and gently pat the sugar down. Begin rolling the dough from bottom to top and crease the unbuttered portion to seal the roll. Cut into 12 cinnamon buns and place them into a buttered baking pan. Cover and allow to rise in the refrigerator overnight.
7) Uncover the cinnamon rolls, place the baking tray in an off oven with a pot of boiling water, and allow them to rise for an additional half an hour. Afterwards, remove everything from the oven and preheat to 350 F.
8) Bake the cinnamon buns until they reach an internal temperature of 190 F, ~ 25 minutes.
9) Remove the cinnamon buns from the pan while warm and allow them to cool before glazing.