Sunday, November 9, 2014

Which knives?


Let's talk more knives! This time around, I'll touch upon some different types of knives commonly found in stores, their uses, and which ones you actually need (no, you don't need all of the ones that they sell in knife blocks).

The Two You Absolutely Need:

Chef's Knife/Gyuto: This one is the most important as you'll be using it for like 80% of your prep work from chopping onions to partitioning meat. They range from 6-12" in length and come in two general profiles - German and French. The German knife profile is conducive to the rock chopping, while the French profile favors push cutting. Gyutos usually occupy the middle ground between these two. My advice - get a good one that suits your cutting style and a length that you're comfortable with. You'll be spending a lot of time with it and it's worthwhile to splurge.

Gengetsu 240 mm Gyuto

Chef's knife/Gyuto alternative - Santoku: The Santoku has gained quite a following in the US. They generally run shorter and flatter than a chef's knife and sport both a wide blade with a drop nose tip.

Petty/Paring: Smaller than your chef's knife, but still one of the core knives you'll want to have. These are great for in-hand work and more delicate tasks like cutting and peeling fruit, zesting and tourning mushrooms. They range in length from about 3-7", depending on what you want to use them for. For a petty/paring knife, I prefer slim, thin, and agile knives.

Misono UX10 150 mm Petty

Nice ones to have:

Bread knife: Usually run in the 8-12" in length and important to have if you cut a lot of hard and crusty bread or cakes. Get the longest one your board can accommodate. It's important to note that bread knives are serrated and, therefore, require a different sharpening procedure than straight edged knives.

Tojiro ITK 240 mm Bread knife
Slicer: Nice to have for larger roasts and meats in general. They're significantly narrower and lighter than chef's knives and should sport a less refined edge than a chef's knife and petty. A toothier edge will cut through tough meat fibers with relative ease.

Hiromoto G3 240 mm Sujihiki

Beater: this usually describes a thicker chef's knife in a softer steel. Use it for rough tasks like splitting lobsters.


Saturday, October 25, 2014

Pumpkin Chocolate Chip Cookies

It's pumpkin season, the time of year when canned pumpkin and pumpkin butter are more accessible to make delicious pumpkin treats like pumpkin cookies. Depending on the recipe, these cookies can range from very cakey to thin and chewy. Pumpkin has a lot of moisture,  so using canned pumpkin typically produces a cakey cookie. For chewier cookies, use pumpkin butter because it has all of the pumpkin flavor without the extra water.

It's interesting how a recipe can vary so much when proportions and technique are altered. I found a great recipe for chewy pumpkin chocolate chip cookies and having made it before, I decided to play around with some of the ingredients to see how it would change the result.

The main thing that did change the texture of these cookies were creaming the butter instead of melting it. I also found that the recipe wasn't affected much if you omitted the cornstarch.

More often than not, cookie recipes call for the creaming method, taking room temperature butter and whipping it with sugar. When you cream butter with sugar, the sugar cuts into the butter creating air pockets. The trapped air causes the cookie to rise leading to a cakier or less dense cookie. Using this method still makes a good pumpkin cookie and it's not as necessary to chill the dough, but it won't create a cookie that's chewy in the middle and crispy around the edges. Melting the butter is a better way to get that texture, but you do need to make sure to chill the dough before baking otherwise the cookies will spread too much.

Chewy Pumpkin Chocolate Chip Cookies
Cookies using melted butter
Adapted from How Sweet It Is

3/4 stick (6 tablespoons) unsalted butter, melted and cooled

1/2 cup packed light brown sugar

1/4 cup granulated sugar

1 large egg

1 teaspoon vanilla extract

1/4 cup pumpkin butter

Cookies using creamed butter
1 1/4 cups all-purpose flour

1/2 tablespoons cornstarch

1/4 teaspoon baking soda

pinch of salt

1/2 tablespoon pumpkin pie spice

1/2 cup chocolate chips

Directions:

Preheat oven to 325 degrees F. Mix the flour, salt, cornstarch, pumpkin pie spice and baking soda in a bowl and set aside.
In another bowl, mix the melted butter and sugars until they are combined.
 Add the egg and vanilla and stir until mixed.
Stir in pumpkin butter until smooth.
Gradually add flour mixture and mix until a dough forms – it will look crumbly at first, but it will come together.
 Fold in chocolate chips. Feel free to omit them if you want just pumpkin cookies. I split my batch in half and made half pumpkin and half pumpkin chocolate chip cookies.
Refrigerate dough for 30 minutes, then roll into golfball-sized balls or use a cookie scoop to drop them on a cookie sheet. Bake for 12-15 minutes, or until cookies are crisp and slightly golden on the edges, then let cool completely.


Saturday, July 19, 2014

Chicken Ballotine/Galantine


Let's be honest, if you're a vegetarian, you're probably not going to make this dish. For the rest of the meat-eating folks, I implore you to try it. So before we delve into the recipe and minutia, what is chicken ballotine? Well, think about a sausage; now replace the casing with a whole deboned chicken. Sound good? Now let's get to it.

Chicken ballotine involves a few steps - deboning, stuffing, tying and baking. The most difficult part of the process is deboning the bird and instead of a tutorial, I defer to a greater power - Jacques Pepin. Of course, if you can get your butcher to do it, you'll save yourself a lot of work.


Reiterating a few points of the video:
  • Cut through ligaments
  • Do lots of pulling and less cutting

Chicken ballotine with spinach stuffing
  • Chicken
    • One 3-4 lb whole chicken deboned
    • 1/2 tsp salt
    • 1/8th tsp baking soda
    • 1/4 tsp thyme
    • 1/4 tsp black pepper
    • Butcher's twine (~4-5 ft to be safe)
  • Spinach Stuffing
    • 6 oz baby spinach
    • 1 small onion
    • 1 clove garlic
    • 5-6 button mushrooms
    • 3-4 oz cheese (Gruyere, Mozzarella, Gorgonzola work well)
    • 1/2 tbsp butter
    • Salt and pepper to taste
1) Coat the chicken evenly with salt, thyme and black peppers. Place on an uncovered sheet pan skin-side up. Rub the skin with baking soda and refrigerate uncovered for at least 3 hours. This will allow the skin to dry and brown more quickly.


2) Remove the chicken from the refrigerator ~ 2 hours before baking, and let it rest at room temperature.
3) ~ 1 hour before baking, finely dice the onion, garlic and button mushrooms.
4) In a pan on medium heat, combine the butter and mushrooms. Cook the mushrooms in the butter until they fry and become aromatic; roughly 10 minutes. Then add the diced onion and garlic and cook until soft and aromatic.
5) Add the spinach leaves into the pan and cook until soft. Remove from the pan and allow to cool. Once cool, add the cheese and then season to taste.
6) Add the stuffing to the flesh side of the bird, making sure to work it into the wings and legs.
7) Wrap the bird in the method described in the video.
8) Bake at 400 F for ~ 1 hr.
9) Remove from the oven, rest for 5 minutes and slice.

Saturday, April 19, 2014

Tres Leches Cake


I was surprised about how many people didn't know what tres leches cake was when I shared some or mentioned I made it recently. It's a Mexican dessert, but it seems like more people are familiar with what flan is in comparison.  I'll admit that although I knew what it was, I had never tasted tres leches cake until a week before I first made it.


James and I tried tres leches cake from a Mexican restaurant that newly opened near we live. The cake was very sweet and moist and still had milk oozing out from it. We enjoyed it so much that we were inspired to make our own soon after and good old Alton Brown has a recipe for it.


Tres leches cake is basically cake soaked in what its name means in Spanish, three milks. Most recipes use a butter cake and you can even make it with yellow cake mix from a box if you're feeling lazy, but of course I'd recommend making the entire thing from scratch.

Below is Alton Brown's Good Eats recipe.

Tres Leches Cake

Ingredients

Cake:

Vegetable oil (For oiling the pan)
6 3/4 ounce flour (Cake flour is recommended, but we substituted this with all purpose flour and cornstarch. Per cup of flour, replace 2 tablespoons with cornstarch. Because the recipe is in ounces, you'll have to approximate)
1 teaspoon baking powder
1/2 teaspoon salt
4 ounces unsalted butter, room temperature
8 ounces white sugar
5 whole eggs
1 1/2 teaspoons vanilla extract

Glaze:

1 12-ounce can evaporated milk
1 14-ounce can sweetened condensed milk
1 cup half and half

Topping:

2 cups heavy cream
8 ounces sugar
1 teaspoon vanilla extract

Directions

Preheat the oven to 350 degrees F. Lightly oil and flour a 13 by 9-inch metal pan and set aside.


Whisk together the cake flour, baking powder and salt in a medium mixing bowl and set aside.


Place the butter into the bowl of a stand mixer. Using the paddle attachment, beat on medium speed until fluffy, approximately 1 minute. Decrease the speed to low and with the mixer still running, gradually add the sugar over 1 minute. Stop to scrape down the sides of the bowl, if necessary.

Add the eggs, 1 at a time, and mix to thoroughly combine.


Add the vanilla extract and mix to combine.


Add the flour mixture to the batter in 3 batches and mix just until combined.

Transfer the batter to the prepared pan and spread evenly. This will appear to be a very small amount of batter.

Bake on the middle rack of the oven for 20 to 25 minutes or until the cake is lightly golden and reaches an internal temperature of 200 degrees F.

Remove the cake pan to a cooling rack and allow to cool for 30 minutes. Poke the top of the cake all over with a skewer or fork.

Allow the cake to cool completely and then prepare the glaze.

Whisk together the evaporated milk, sweetened condensed milk and the half-and-half.


Once combined, pour the glaze over the cake. Refrigerate the cake overnight.

Before: Glaze poured on cake                                                          After: Cake soaked in glaze


Topping:

Place the heavy cream, sugar and vanilla into the bowl of a stand mixer. Using the whisk attachment, whisk together on low until stiff peaks are formed. Change to medium speed and whisk until thick. Spread the topping over the cake and allow to chill in the refrigerator until ready to serve.


Notes:

The topping isn't necessary especially if you decide to serve the tres leches cake with fruit, but it does hide all the holes that you perforated into your cake. The cake itself is already very sweet so adding the topping would definitely make it sweeter.

It's a good idea to tap the pan to get rid of any air bubbles before you bake the cake.

Once you pour the glaze on top of the cake, you'll notice that the cake slowly absorbs all of the moisture, so it's important to thoroughly poke holes all around the cake. Refrigeration also helps the glaze soak into the cake more.

Wednesday, January 15, 2014

Chocolate cake - Layer cake and cupcakes

Rich, moist, intense chocolate flavor—who doesn't want that in a chocolate cake? This has been my favorite chocolate cake recipe because it makes the type of cake that everyone enjoys. I originally found this on Allrecipes (One Bowl Chocolate Cake III), but I've also found the exact recipe on the Joyofbaking, Hershey's, and Scharffen Berger websites, so I don't know the true origin of the recipe. Since so many sources use the same recipe, you know that this is a great cake.

This recipe works well as either a layer cake or cupcakes. I've used this recipe for both recently, halving it when I made mini cupcakes. The half batch made enough for 24 mini cupcakes and 2 regular-sized cupcakes. As a layer cake, this makes enough for two layers or three thinner layers and you can use either 8 inch or 9 inch round cake pans. The only change from the original recipe is the addition of instant coffee powder, which helps enhance the chocolate flavor of the cake. This ingredient isn't necessary, so if you don't have it then it's fine to omit it. Another good suggestion is to sift all the dry ingredients to avoid lumps.

Two layer cake with chocolate buttercream frosting
decorated with shaved chocolate
Chocolate Cake

Ingredients

2 cups white sugar
1 3/4 cups all purpose flour
3/4 cup unsweetened cocoa powder
1 1/2 teaspoons baking powder
1 1/2 teaspoons baking soda
1 teaspoon salt
2 eggs
1 cup milk
1/2 cup vegetable oil
2 teaspoons vanilla extract
1 teaspoon instant coffee powder
1 cup boiling water

Directions

1. Preheat oven to 350°F. Butter or grease two round cake pans or prepare cupcake liners in muffin pans if making cupcakes.
2. In a large bowl, mix together the sugar, flour, cocoa powder, baking powder, baking soda, and salt.


3. Add the eggs, milk, vegetable oil, and vanilla extract into the bowl and mix until incorporated.


4. To the cup of boiling water, mix in the instant coffee powder, and then stir the liquid into to the bowl.
The batter will be thin.


5. Pour batter into cake pans or cupcake liners. Tap the pans a few times to remove air bubbles. Bake for 30 to 35 minutes in the preheated oven until the cake tests done with a toothpick. Cool in the pans for 10 minutes, then remove to a wire rack to cool completely.

Feel free to use any frosting for your cake. I used a chocolate buttercream recipe which I'm still working on, so I decided not to post the recipe yet. A whipped cream frosting works well with this chocolate cake too.
 
Mini cupcakes


Saturday, November 16, 2013

Pumpkin Apple Muffins


It's been pumpkin season for a while, but I'm only getting the chance now to post about a good pumpkin recipe I've tried towards the beginning of this month. I've found delicious looking pumpkin cupcake recipes that I want to try, but for this occasion I wanted to make something healthier that James and I could eat as an on-the-go breakfast--Pumpkin Apple Muffins. Apples were a great addition to these muffins that added a nice texture.

I slightly modified a Pumpkin Apple Muffin recipe I found through a Google search. Normally I have my go-to websites for recipes, but Cookies and Cups' muffins looked so good that I couldn't resist testing it out. As I mentioned before, I wanted a healthier muffin, so I had to forgo the cream cheese and streusel toppings. I think I prefer these indulgent toppings on cupcakes anyway.

The other differences in my recipe are the portioning, the sugar content, and the pumpkin pie spice mixture. I decided to halve the recipe and spread the batter out in 12 muffin cups. For the sugar, I thought the amount was more than I wanted for this muffin so I cut it down by 1/4 cup. I also replaced 1/4 cup of white sugar with dark brown sugar because brown sugar helps seal in moisture and draws moisture from the air over time to keep the muffin moist. This is helpful since you can so easily over mix muffin batter that doesn't use butter (non-cakey muffins). Lastly, I broke down the pumpkin pie spice mixture in a note below the recipe. I know that not everyone buys pumpkin pie spice, including myself, so I know how frustrating it is to see so many pumpkin recipes use it and always have to convert it.

Pumpkin Apple Muffins

Ingredients

1 1/4 cup flour
1/2 cup granulated white sugar
1/4 cup dark brown sugar
1/2 Tbsp pumpkin pie spice*
1/2 tsp baking soda
1/2 tsp salt
1 egg
1/2 cup pumpkin puree
1/4 cup vegetable oil
1 cup apple, peeled and chopped (1 small apple should work)

*You can break this down using a 8:4:2:1 ratio of ground cinnamon, ginger, nutmeg, and cloves. Most recipes often use a 4:2:2:1 ratio but in the end it's based on personal preference. For example, using the 4:2:2:1 ratio, a blend of 1/2 tsp cinnamon, 1/4 tsp ground ginger, 1/8 tsp nutmeg, and 1/8 tsp cloves makes 1 tsp of pumpkin pie spice. You can double this to make 2 tsp and take 1 1/2 tsp for this recipe. When I made this, I didn't have ground ginger, so I replaced it with an equal amount of cinnamon.

Directions

1. Preheat oven to 350°F.
2. Line your muffin pans with liners, or spray pans with cooking spray
3. Prepare muffin batter by whisking together flour, sugars, pumpkin pie spice, baking soda and salt.


4. In another bowl mix together eggs, pumpkin and oil.


 5. Pour these wet ingredients in the dry ingredients bowl.


6. Mix until incorporated.


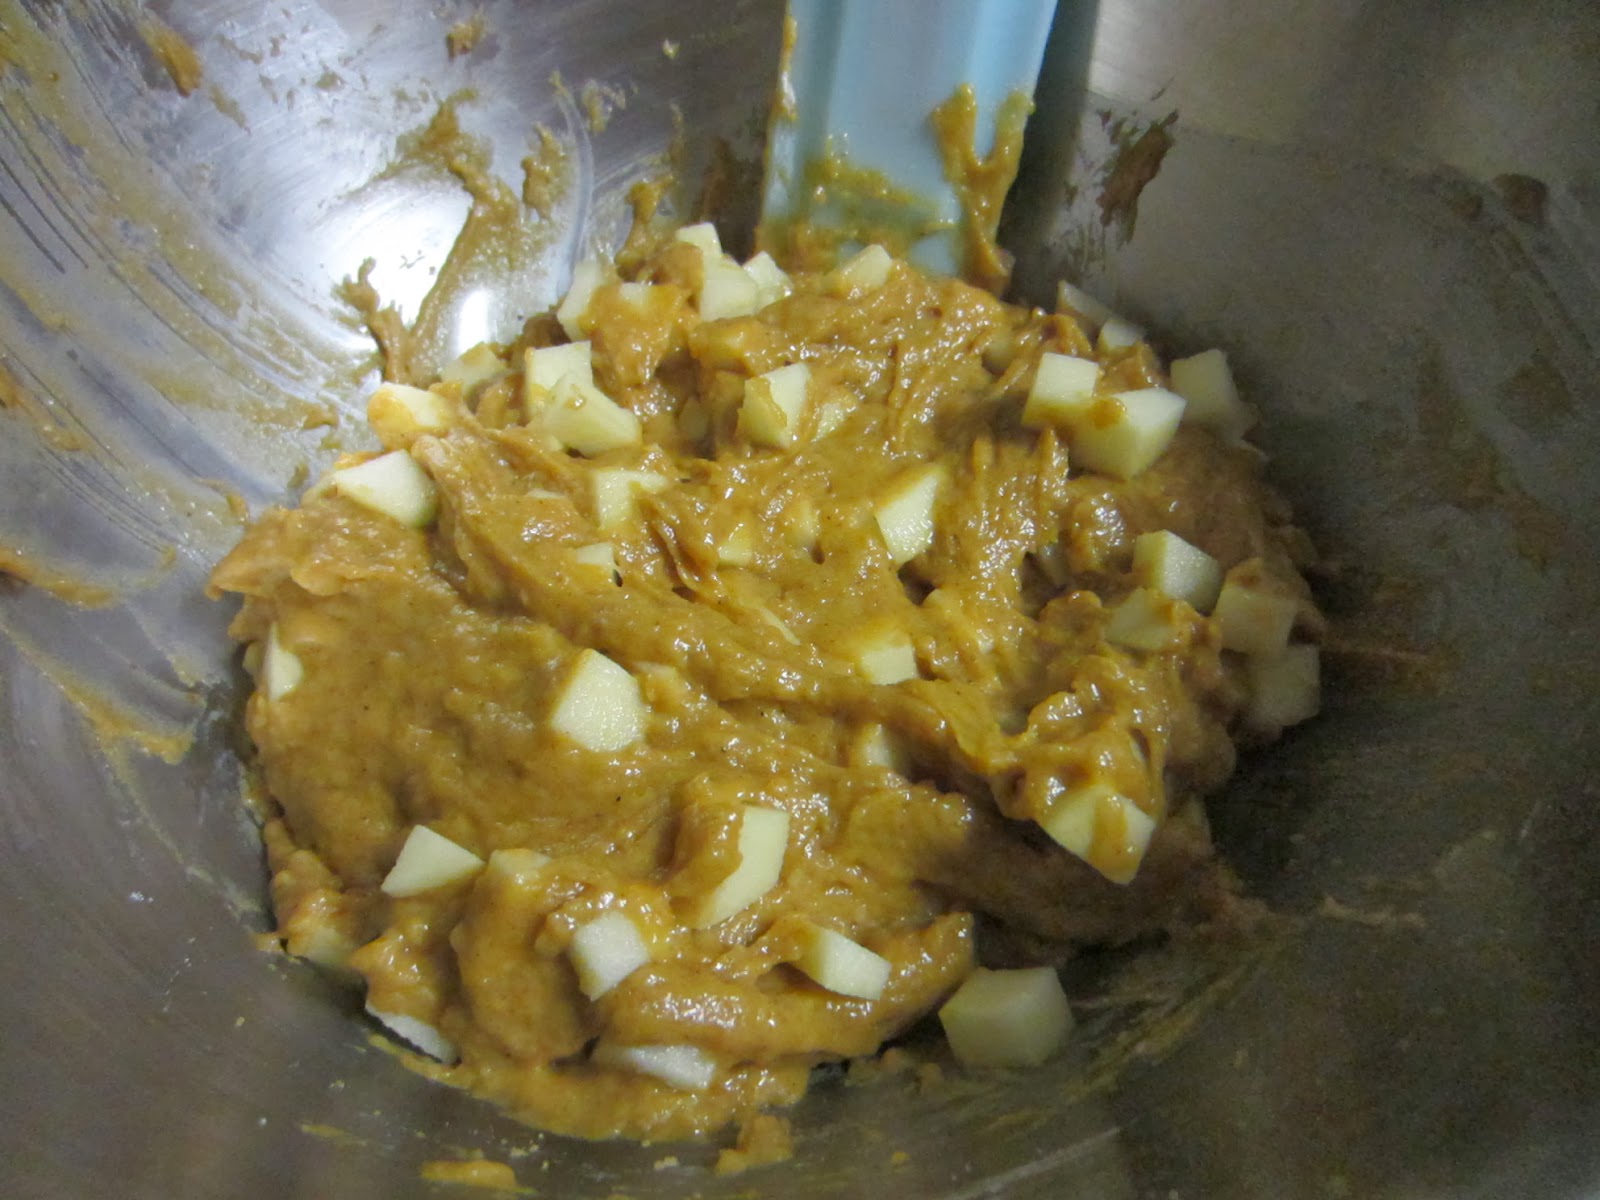
 7. Stir in chopped apples.


8. Fill muffin cups ~2/3 full and bake for about 20-25 minutes or until a toothpick comes out cleanly.
9. Take the muffins out of the pans and cool on a wire rack.


These muffins tasted like cakey muffins and kept moist for several days. They were also still sweet even though I cut down on sugar. I think I need to play around with the sugar levels of this recipe, but overall they were good and I'd definitely make them again.


Wednesday, October 30, 2013

Lemon squares


Lemon squares or lemon bars are a perfect combination of buttery shortbread crust and a sweet yet tart lemon custard. These are one of my favorite baked goods to make because they're simple, easily impress, and, of course, delicious.

I've been using a recipe I found on Allrecipes since I first started making these and it's a great recipe, but I wanted to switch it up and decided to use Chef John's Lemon Bars recipe. I'm usually excited to try Chef John's recipes ever since James got me watching foodwishes (Chef John's blog name) videos on YouTube. I've already tried a few of his recipes with yummy results, so I was confident this recipe wouldn't fail me. The recipes aren't drastically different, as they use similar ingredients, but in the end I think I like Chef John's recipe more. It turns the crust into something more like a shortbread cookie, uses a bit less sugar (which I do anyway when I modify recipes), and creates a more custardy lemon filling with the use of the egg yolk instead of an additional whole egg. You can still use a whole egg instead of the yolk if you really don't want to go through the trouble of separating the egg. It doesn't change the recipe that much, but I'd recommend following the recipe if you can.

Below is the recipe from Chef John's website and the directions I got from his Allrecipes submission.

Ingredients for 16 Small Lemon Bars:

For the shortbread crust:
1 cup all-purpose flour
1/2 cup room temp unsalted butter (1 stick)
1/4 cup powdered sugar
1/4 tsp vanilla
1/4 tsp salt

For the lemon layer:
2 large whole eggs
1 large egg yolk
1 cup white sugar
2 tablespoons all-purpose flour
1/4 cup fresh lemon juice
1 tbsp grated lemon peel

Directions

1. Place an oven rack into middle position in oven and preheat oven to 350 degrees F (175 degrees C). Lightly oil an 8x8-inch baking dish.
2. Place 1 cup flour and butter in a mixing bowl and mash with the back of a spatula or wooden spoon until thoroughly combined. Mix in 1/4 cup confectioners' sugar, vanilla extract, and salt; mash mixture together until mixture looks like a slightly crumbly cookie dough.
3. Moisten your fingers with a little water and press dough into bottom of prepared baking dish. Use a fork to prick holes all over the crust.
4. Bake crust on center rack in the preheated oven until crust edges are barely golden brown, 22 minutes.
5. Beat eggs and egg yolks together in a bowl; whisk in white sugar and 2 tablespoons flour until smooth. Add lemon juice and lemon zest; whisk for 2 minutes. Pour lemon custard over crust.
6. Bake on center rack until custard is set and top has a thin white sugary crust, 25 minutes. Let cool completely before cutting into bars. Dip knife into very hot water, run around the edge, and cut into 16 squares. Dust cookies with 1 teaspoon confectioners' sugar.